Why I Stopped Paying for Midjourney
Last month I was running four different AI subscriptions simultaneously — Midjourney ($30/mo), Runway ($35/mo), Kling ($25/mo), and a Stable Diffusion cloud service. That's nearly $1,200 a year just to generate images and videos for my projects.
Then I found Open-Generative-AI — the repository that hit #1 on GitHub trending in April 2026 — and everything changed.
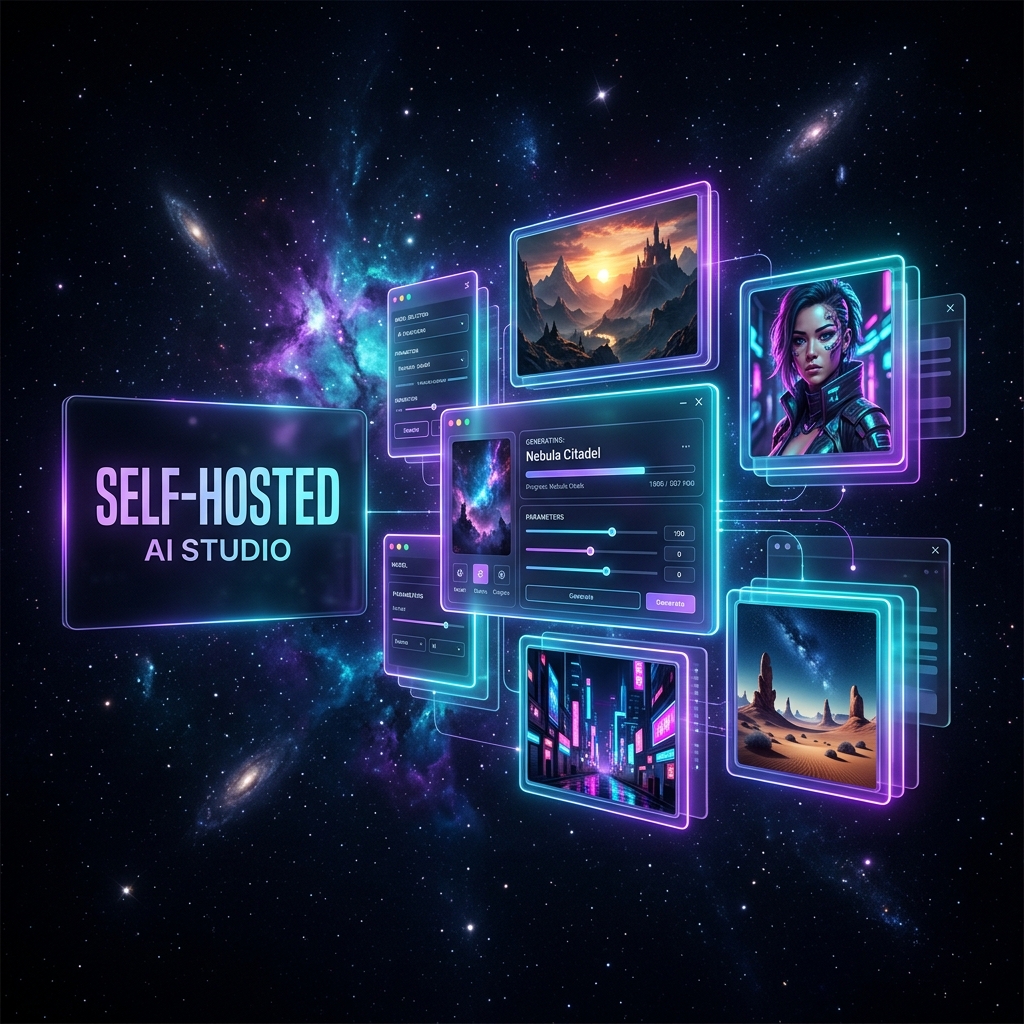
In one weekend, I built a fully self-hosted alternative. And in this post, I'm going to show you exactly how, including the three advanced generative AI loops I engineered on top of it that make the result dramatically better than any off-the-shelf subscription.
---
What Is Open-Generative-AI?
Open-Generative-AI is an MIT-licensed Next.js project by developer Anil Matcha. It connects to MuAPI.ai — a unified API that gives you access to 500+ AI models (Flux Pro, Kling, Luma Dream, SDXL, and many more) through one API key.
The key advantages:
- ✅ No monthly subscriptions — pay only for what you generate (fractions of a cent per image)
- ✅ 200+ models under one interface
- ✅ Self-hosted on Vercel — your data stays private
- ✅ MIT license — modify and sell commercially
---
The Problem With Basic Prompting
Every AI image generator has the same issue: the quality of your output is directly proportional to the quality of your input prompt. A basic prompt like:
"a warrior standing in a forest"
...yields a generic, forgettable image every time.
A professional cinematographer would write something like:
"Battle-hardened samurai warrior in a misty ancient cedar forest, shot on 85mm f/1.4 lens, low-angle hero shot, Rembrandt lighting with a single shaft of golden sunlight piercing through the canopy, Kodak Vision3 cinematic grain, shallow depth of field, atmospheric fog, photorealistic, 8K, award-winning photography"
The difference? Night and day. So instead of making users manually craft expert prompts, I built 3 loops that handle this automatically.
---
Loop 1: The Cinematic Prompt Expansion Loop
This is the foundational loop. Here's the architecture:
How the Gemini Agent Works
I wrote a system prompt that instructs Gemini to behave like a professional cinematographer:
The result? Users type 5 words. They get a 100-word cinematic masterpiece sent to Flux. Every single time.
The key insight: The LLM doesn't replace the image model — it optimizes the input to the image model. Separating these two stages gives you dramatically better results than just using a single all-in-one model.
---
Loop 2: The Character Consistency Pipeline
This solves one of the hardest problems in generative AI: maintaining the same character across different scenes.
Every time you generate an image, the AI produces a different face. My solution is a 2-stage pipeline:
Here's the actual API route code:
Content creators are using this to produce entire comic strips and ad campaigns in minutes.
---
Loop 3: The Text-to-Movie Storyboard
This is a 3-stage multi-model pipeline that converts a written story into a 4-panel animated storyboard:
Parallel Image Generation
The critical performance optimization: all 4 images are submitted simultaneously using Promise.all, cutting generation time from ~4 minutes to ~1 minute:
---
How to Deploy It Yourself (90 Seconds)
Step 1: Get your API keys
- MuAPI.ai — pay-as-you-go (~$0.002-0.05/image, ~$0.10-0.50/video)
- Google AI Studio — free Gemini API key
Step 3: Deploy to Vercel
Done. Your studio is live.---
Cost Comparison
| Service | Monthly Cost | Images | Video |
|---|---|---|---|
| Midjourney Pro | $30 | ~8,000 | ❌ |
| Runway Gen-3 | $35 | ❌ | ~150 clips |
| Kling Pro | $25 | ❌ | ~300 clips |
| AI Creative Studio | $0 base | Unlimited | Unlimited |
Pay per generation via MuAPI. At typical usage ~$10/month covers most creators.
---
Get the Full Template
I've packaged the complete codebase — all 3 loops, 5 API routes, the premium UI, and the full deployment guide — as a downloadable template in the Vibe Coding Codex Shop.
The template is MIT licensed, meaning you can modify it and sell your customized version commercially.
---
Found this useful? Star the Open-Generative-AI repo and share this post with your dev community.
Ready to Stop Typing Code & Start Directing AI Systems?
Join 5,000+ developers building real production software with AI. Learn the 7-Stage Vibe Coding OS, harness engineering, and earn your verified Build DNA Certificate.